
You know how I said that I make my own bread? Well, I do. Most of the time. Last week, it was really crazy, so I picked up some Oroweat at Costco for the boys. They were quite happy, but did say that they like my bread better for “just eating,” meaning not for sandwiches or toast. Buying bread for the boys allowed me to freedom to experiment with bread making this week, because I didn’t have to deal with complaints or “the look.” They have their super, non-nutritious white bread, and I can experiment with super uber healthy whole grain bread.
As much as I love bread, I have some dietary restrictions, so I have to seriously limit how much I eat. There’s a little more flexibility when I eat a true whole grain bread, so I decided to make some this week. I pulled out my family cookbook (Thank you Erin for assembling this as a Christmas gift a few years ago), and looked at the wheat bread recipes. They looked good, and I’m sure they were good, as they were my mother’s recipes, but they all made several loaves of bread. I wasn’t sure if anyone else would eat the wheat bread, and I wanted to start small.
Rather than doing the smart thing and simply reducing the amount of ingredients and making less bread, I decided to wing it and completely change my favorite white bread recipe and make it a whole grain bread recipe. That’s a risky thing to do! But I am a “wing it” kind of gal.
Shall we see how “winging it” turned out this time?
Whole Grain Bread with Flax and Chia Seed.
(Adapted from Pound-it-Bread by Joan Miller)
1/2 cup raw honey (can use regular honey)
1 tablespoon molasses
2 tablespoons yeast
1/4 cup cream (or half-n-half, milk, evaporated milk, almond milk, etc.)
1 3/4 cup warm, not hot, water
1/4 cup flax seed, ground
1/4 cup chia seed
2 1/2 cups bread flour
2 cups whole wheat flour
1 tablespoon dough enhancer
1/4 cup vital wheat gluten
2 tablespoons salted butter, melted
2 teaspoons salt
Dissolve yeast in warm water mixed with some of the honey, and let sit for 5 minutes. It should begin to “bloom” (see picture below). Put remaining ingredients in bowl and add yeast when ready. Mix well until all ingredients are moist and forms a ball. Dump dough onto a floured surface and cut in half. Form two lumps of dough. Let them sit and rest for 15 – 20 minutes. Pound each dough lump for one minute on a floured surface with a rolling pin. Form into a loaf and put into a greaseed pan. Let dough sit in pan and rise until the loaf is 1 inch over the top of the pan. Place bread in preheated 400 degree F oven and bake for 10 minutes. Place a piece of foil over the top of the loaves and cook for an additional 15-20 minutes, until done. Total baking time is 25-30 minutes.
Now for the fun part… The pictures!

Ingredients. Well, most of them. See my little ziplock bag of whole wheat flour? I used my Nutrimill to grind it* from white winter wheat about a month ago. I keep it in my freezer to keep it fresh, and I pull it out whenever I need whole wheat flour.

Can’t forget these babies!

Or these!

Or these… Chia seed and ground flax seed

I ground 1/4 cup of flax seed in a coffee grinder. It measured a little over 1/4 cup after I ground it, but I put the entire amount in the dough.
Now, we can begin!!

Start with the yeast. Dissolve it into the water mixed with some of the honey. When the yeast has “bloomed,” it will look like this. When it does, it’s ready!

Next, add everything to your mixing bowl. I use a Kitchen-aid. You can use a Bosch or whatever mixer you have, or you can mix it by hand. This is a heavy dough, so make sure your mixer can handle dough before you begin.
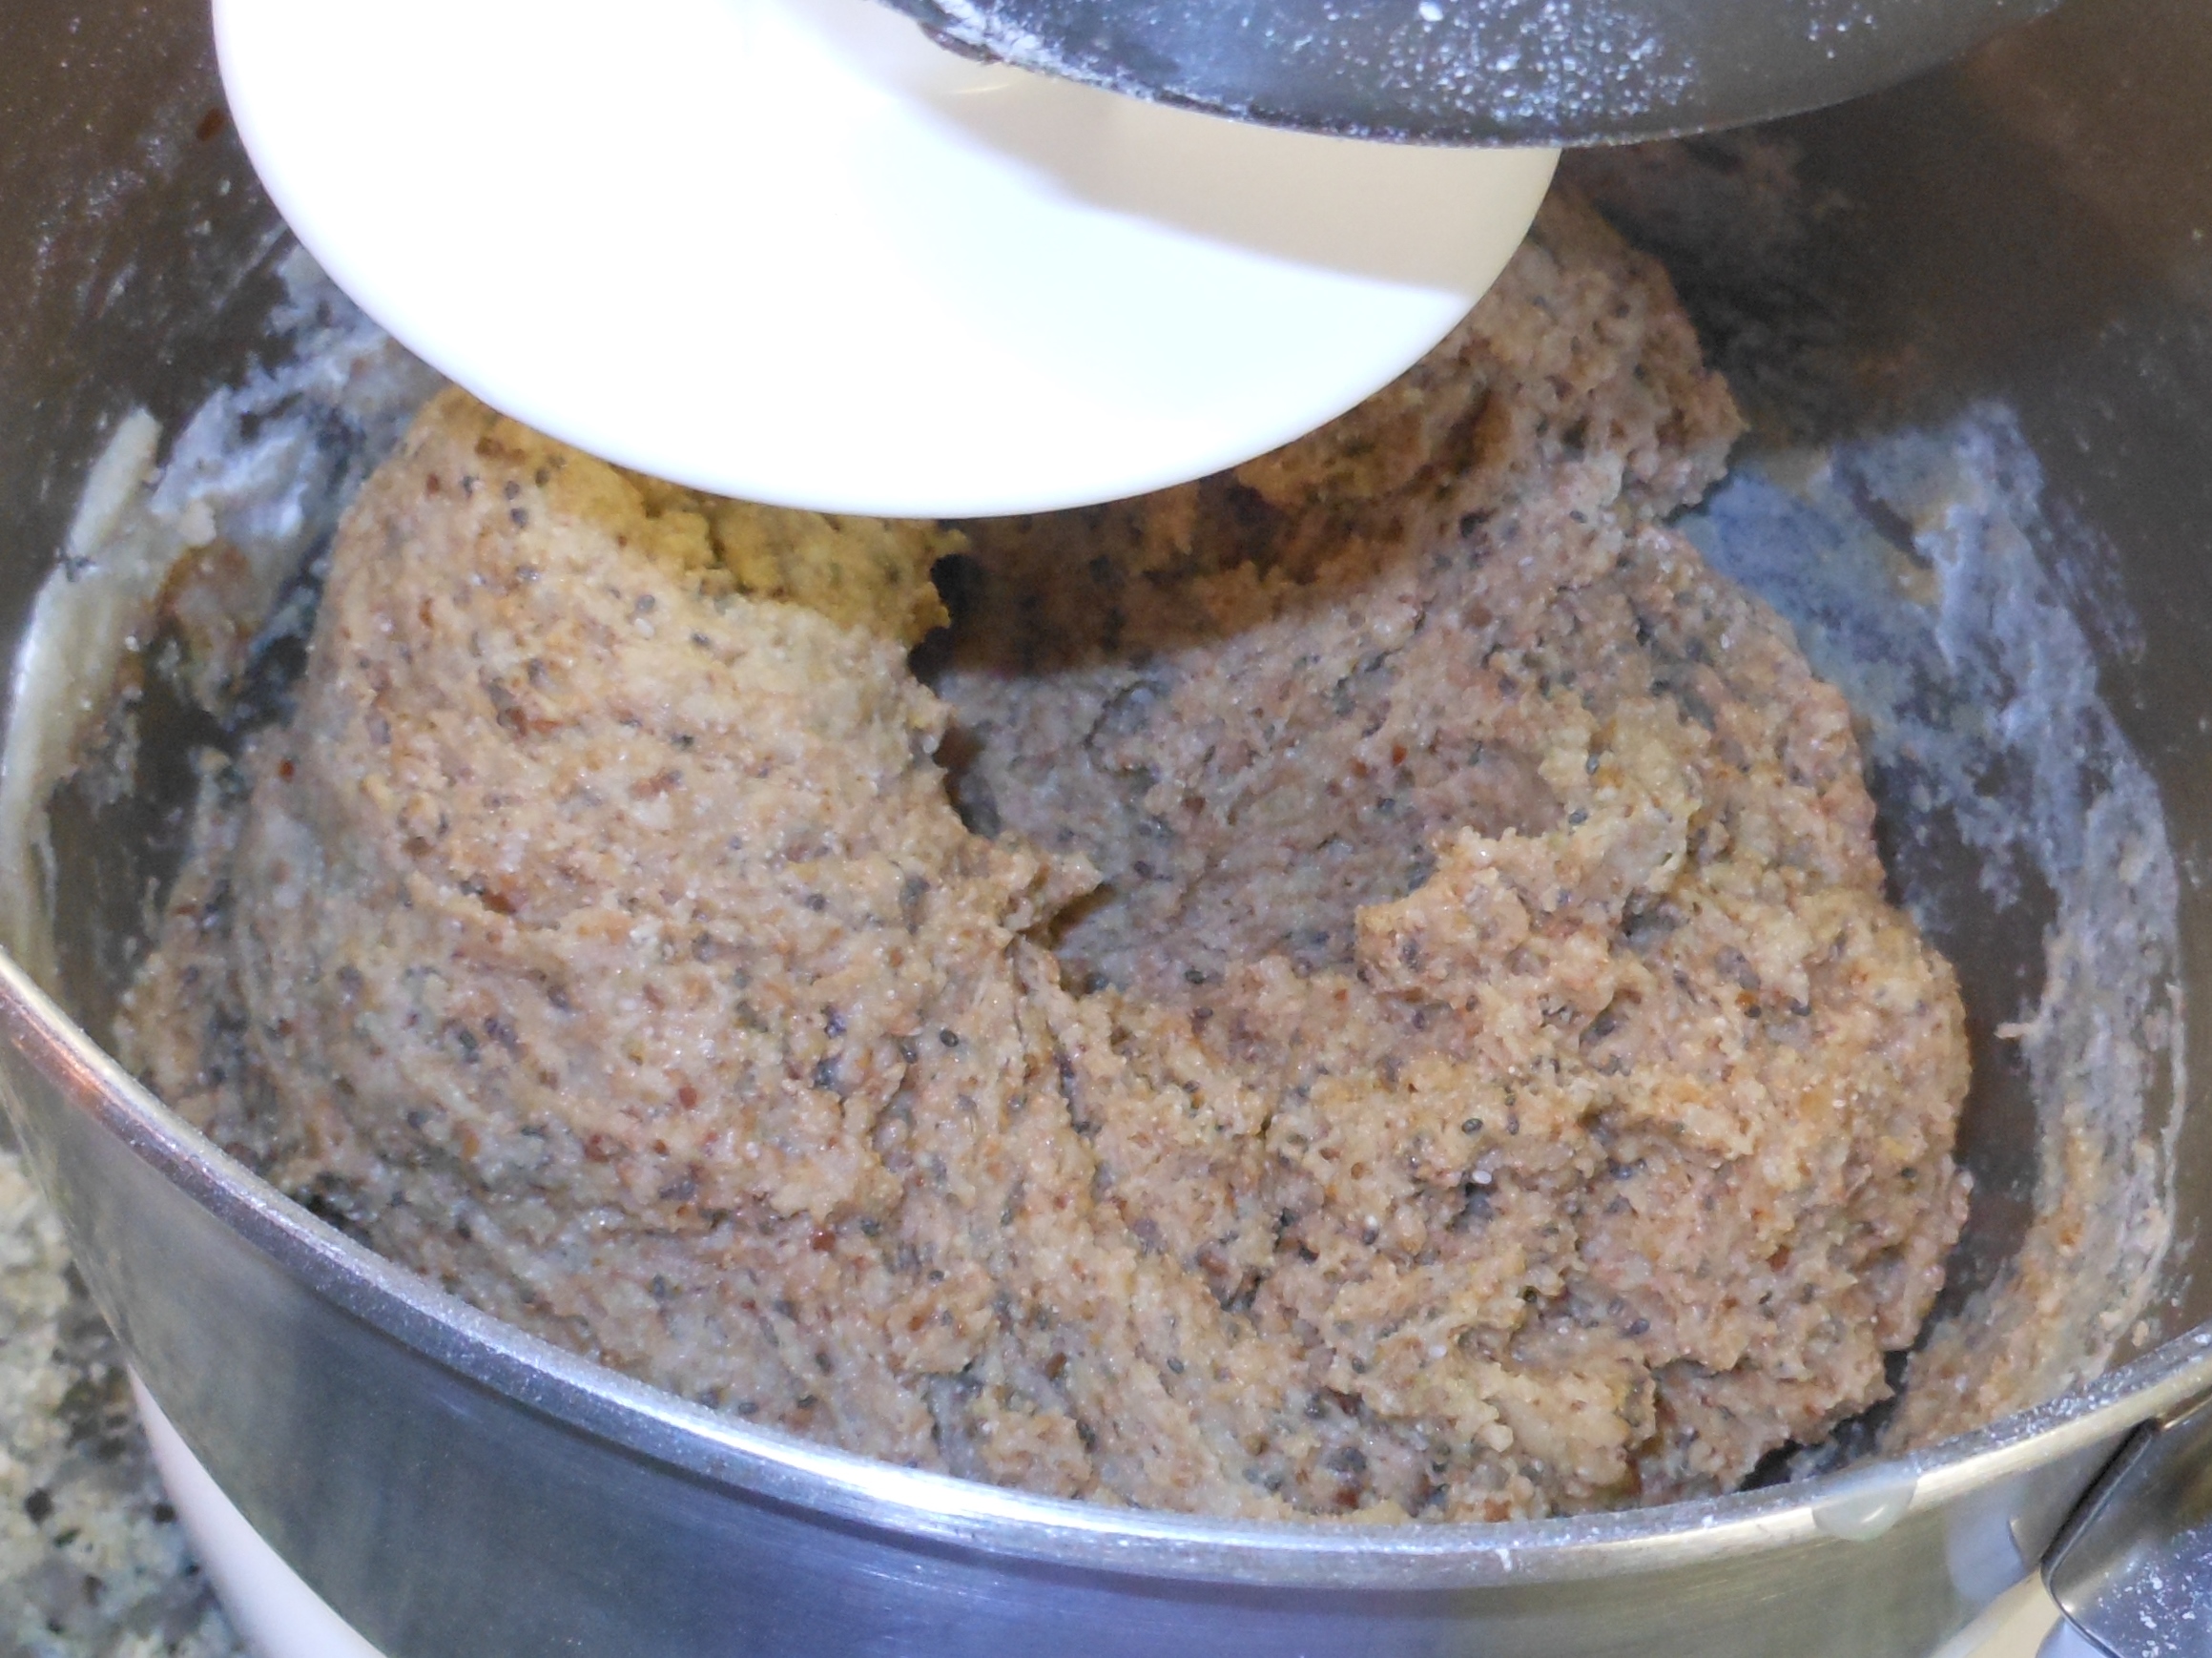
Mixing. This needed a little more flour (as I initially only put in 2 cups of bread flour), so I added an additional 1/2 cup of bread flour (making 2 1/2 cups total as listed in the recipe).

And it turned out like this. This dough is not as wet as my white bread recipe.

Dumped it on a floured counter top.

Cut it in half and let it sit for a little over 15 minutes.

Here is the same dough 15 minutes later. See? It’s beginning to rise.

I pounded it out.

Then I shaped it into a loaf, but as you can see, it’s not very pretty. Is it? I should have just rolled up the dough to form the loaf, but I shaped it the way I do with a wetter dough. Next time, I’ll roll it for a prettier loaf.

Here’s the other one. Better, but not beautiful.

I let them rise for close to 40 minutes. They look better now, but, still, they’re not pretty.

Here they are 10 minutes into baking. I put foil on top to keep the loaves from getting too brown. And boy! It’s time to clean my oven!

Here they are, fresh out of the oven.

Not bad, but not the prettiest bread I’ve ever made. Of course, taste is king, so let’s see how it turned out.

The texture of the bread was really nice, but it is a tad bit too sweet (even for me and I like a sweeter bread). I forgot to account for the fact that honey is twice as sweet as sugar. I adjusted for it’s water content, but not the sweetness.
Overall, a decent bread. Not my favorite, but definitely edible. I’ll continue to tweak this recipe and let you know what I come up with. I will most definitely be reducing the amount of honey.
If you’re interested in the nutritional content, here’s what “My Net Diary” told me. Each slice has 150 calories, 4 grams of fat, 23 grams of carbs (with 4 of those from fiber), and 6 grams of protein.
What do you think?
Do you have a favorite whole grain bread recipe? I’d love it if you’d share it with me!

March 12, 2014 at 11:07 am
This looks like delicious bread.
LikeLike
March 12, 2014 at 11:08 am
Thank you!
LikeLike
March 12, 2014 at 11:11 am
Bread is one thing that I haven’t tackled yet. It seems like it would be time-consuming, but I do want to give it a try. I’m going to poke around on your site and get some tips. Lisa C. a.k.a. Yummytums!
LikeLike
March 12, 2014 at 11:13 am
Bread can be time consuming. This recipe took me about 2 hours from start to finish (including cook time). I find it’s easier to do it at night when I’m puttering around the house.
Thanks for stopping by!
LikeLike
March 12, 2014 at 11:11 am
Reblogged this on Food Science and Safety and commented:
Continuing with today’s bread theme, here’s a delicious-sounding bread recipe. Some day when I have enough time, I intend to try it out.
LikeLike
March 12, 2014 at 11:12 am
I love experimenting and trying to adapt recipes, it’s so rewarding when it “works”! This bread looks delicious…I’ll be looking forward to see where your “tweaking” takes you!
LikeLike
March 12, 2014 at 11:14 am
I’ll be sure to follow up with my “tweaking.” Hopefully those tweaks will be successful, but I’ll share them regardless.
LikeLike
March 12, 2014 at 11:14 am
I just started making my own bread. I cheat and I use my bread machine. I love it. But I was wondering if you had any tips for storing it after I’ve made it. We normally don’t finish a whole loaf in one day and I’d like to eventually stop buying sliced bread altogether, but I’m not sure how I should be storing my homemade bread.
LikeLike
March 12, 2014 at 11:17 am
I store my homemade bread in twist tie bags on the counter or in a breadbox. It lasts a couple of days and still tastes good. Of course, it’s always best the first day, but it’s still really yummy for the next couple of days.
If I don’t think we’re going to eat the bread right away (and that’s usually the bread I like), I slice it and freeze it. That way, I can pull out one slice at a time to put in the toaster if I want.
Of course, with four sons, I rarely have a problem with food lasting too long. 🙂
LikeLike
March 12, 2014 at 11:19 am
Awesome! Thanks! Any suggestions for certain bread boxes?
LikeLike
March 12, 2014 at 11:28 am
I just got my first one, and it was free from someone who was giving it away. I don’t know a lot about them, but I can’t imagine there would be much difference between different bread boxes.
I just checked on Amazon, and they have several, including this stainless steel one for about $20. http://www.amazon.com/gp/product/B006PX0XO4/ref=as_li_ss_tl?ie=UTF8&camp=1789&creative=390957&creativeASIN=B006PX0XO4&linkCode=as2&tag=myfoinfost-20
LikeLike
March 13, 2014 at 3:40 am
Awesome! Thanks!
LikeLike
March 13, 2014 at 12:32 am
I use a clear plastic ‘bread loaf’ shaped plastic box, One end is slightly bigger than the other and slides over it (so it telescopes). There are a couple of holes for ventilation on each end. Inside is a slicing guide, which also keeps the bread from touching the container (hot bread in the box causes significant condensation). Where did I get them? I don’t know, one came with each of the 2 used bread machines I got. But they are great for short term storage AND are a pretty decent guide to slicing my loaves.
They are good for a couple of days, which is longer than good bread lasts around here. If I wanted to keep bread longer, I would (after a day of cooling at room temp) put it in a plastic bag, suck out as much air as practical, and wire tie/plastic clip it and store it in the fridge. That should be good for at least a week. For longer storage, I’d experiment with freezing mixed with vacuum sealing (to reduce the moisture the cold leaches out of the bread).
LikeLike
March 12, 2014 at 11:21 am
I really enjoy making our bread. It will sound weird but I kind of use the kneading time as a meditation time. I love the smell of fresh bread and feel good about giving my family something I know is much healthier than the stuff they sell in stores. I really feel like it is time well spent.
Thank you for sharing your recipe … this looks DELICIOUS. I will have to try it soon.
LikeLike
March 12, 2014 at 11:38 am
Healthy and sounds so yummy! I’m still on the fence about getting a bread machine, not sure if it can compare to making it by hand like you did here 🙂
LikeLike
March 12, 2014 at 12:28 pm
I used to have a bread machine, and I liked it. I just didn’t like the oddly shaped loaves. But this was a very LONG time ago, like 14 years. I think the loaves are more “normally” shaped now. I used to use the dough setting, then put my loaves in a bread pan to bake in my oven. Then I got a Kitchen-aid and eventually gave away the breadmaker, because I quit using it.
LikeLike
March 12, 2014 at 12:38 pm
mmmm I’ve been eyeing the cuisenart one, it’s got the right shape and it’s compact enough for my kitchen 😀
LikeLike
March 12, 2014 at 12:39 pm
Let me know how that works out for you!
LikeLike
March 12, 2014 at 12:45 pm
For sure! 🙂
LikeLike
March 12, 2014 at 12:09 pm
Love the title. The best part of cooking, I think, is winging it and figuring out new stuff. I, for instance, refuse to use measuring spoons when making a curry. You should feel it. Works well most of the time with cookery, but I’m impressed that you did it baking!
LikeLike
March 12, 2014 at 12:26 pm
Thank you! It helped that I had a tested recipe to use as a template. 🙂
LikeLike
March 12, 2014 at 12:11 pm
Wonderful recipe. I can smell it from here! I especially like that it’s not too complicated.
I don’t eat bread as a rule and have ever only made Focaccia when I make stew for my grand kids.
My son-in-law makes white bread (yuck) in a bread machine. I asked why he doesn’t make a bread with some substance. His response was there are only 2 gms blah blah something difference between white and whole wheat bread. I dropped the subject but wonder if you have a bread machine recipe for an artisan-type bread (or non bread machine recipe). If it’s the latter, I don’t mind making some by hand. :_D 🙂
Please and thanks in advance.
LikeLike
March 12, 2014 at 12:25 pm
Thank you!
I have some sourdough recipes, and I’m planning to try out the Artisan Bread in Five Minutes a Day recipe. I’ll be sure to post the sourdough ones soon and the artisan one once I try it out.
LikeLike
March 12, 2014 at 1:14 pm
Fab-U-lous. Thank you. No rush other than I’m going away for almost a month at the end of this month. Ha ha.
LikeLike
March 12, 2014 at 1:40 pm
Great work! I love making my own bread and also use flax and chia. The last time I made too much dough so I grabbed some rosemary from the garden and threw in some sultanas too. It was delish! I prove my bread in the car on a warm day as it is a perfect and consistent temperature with the sun shining through the window. It also cost a lot less than heating a house. Ive even taken it for a drive a couple of times and gone to pick up the kids from school, they obviously think their Mother is weird. 🙂
LikeLike
March 12, 2014 at 2:51 pm
If one were to choose freezing bread for later consumption, how long do you think one should leave it in the freezer? I try not to do this, but sometimes have no choice, as I don’t want to throw any food in the trash. Sometimes, I find it hard to defrost. Any tips?
LikeLike
March 12, 2014 at 3:58 pm
Personally, I wouldn’t leave it longer than a week or two. I set it out on the counter a few hours before I need it (or the night before).
LikeLike
March 12, 2014 at 4:24 pm
Thank you! I sometimes defrost it in the microwave, or just use my toaster. I love bread, but I don’t eat it all the time :p. I love your blog, so many ideas!
LikeLike
March 12, 2014 at 4:26 pm
I’m glad you’re enjoying it! 🙂
LikeLike
March 13, 2014 at 12:50 am
I’ve frozen commercial bread, and like many things which are frozen, eventually the cold leaches out the moisture and forms ice crystals on the surface. So, freezing long term is not satisfactory. I vacuum seal other things I freeze long term, so I might try vacuum sealing the bread to see if that extends its freezer life.
To defrost (quickly), I use the microwave or toaster. If I have time, I let it defrost on its own on the counter or in the fridge.
LikeLike
March 12, 2014 at 2:56 pm
I was expecting a disaster…but it actually looks delicious. Your fearless attitude it’s very motivating. Thanks!
LikeLike
March 12, 2014 at 3:09 pm
I am actually thinking of asking for a bread maker for my birthday because I have serious arthritis but still love home-made bread. Do you have any suggestions of brands, kinds, etc.?
LikeLike
March 12, 2014 at 3:52 pm
I don’t have a bread maker, and I haven’t owned one for about 14 years. I use my kitchenaid and let it do the kneading for me. I’m sorry I don’t have a suggestion. Another reader said they’re considering a cuisinart one. Perhaps you may want to check those out?
Amazon carries quite a few. They have an Oster for about $70. Here’s a link if you’re interested. http://www.amazon.com/gp/product/B003GXM0EM/ref=as_li_ss_tl?ie=UTF8&camp=1789&creative=390957&creativeASIN=B003GXM0EM&linkCode=as2&tag=myfoinfost-20
LikeLike
March 12, 2014 at 7:34 pm
Thank you SO much!
LikeLike
March 13, 2014 at 12:36 am
The Zojurushi is allegedly the official bread machine of the LDS church. Mine (bought from a Mormon yard sale) works very well and makes a nice, ‘normal’ shaped loaf.
LikeLike
March 14, 2014 at 4:13 pm
Thank you so much for the information! I have been shopping since reading the original article!
LikeLike
March 14, 2014 at 4:15 pm
Please let me know which bread machine you decide on and how you like it. I’m sure my readers would also like to know. 🙂
LikeLike
March 14, 2014 at 4:18 pm
I will! Thank you! 🙂
LikeLike
March 12, 2014 at 6:50 pm
Way to wing it, Laurie! Hopefully you’ll be able to tweak it to perfection soon! 🙂
LikeLike
March 13, 2014 at 12:43 am
Using a (good) bread machine is less work than going to the store and buying a loaf. Dump in the ingredients, press a button, and wait for heaven. They now even have ‘horizontal’ machines so you can even make a ‘bread’ shaped loaf.
But if even that is not your choice, check out Trader Joes’ whole wheat or ‘8 + 2 whole grain’ bread. Great ingredients and reasonably priced ($2.29 the last time I got some).
LikeLike
March 14, 2014 at 11:18 pm
Thanks for the follow! I’ve been looking for good bread recipes and I’ll definitely have to try yours! I look forward to reading more of your blog and having you around!
LikeLike
December 7, 2014 at 6:24 pm
I’m making my third batch of your bread tonight. All of my sons love it! I don’t keep vital wheat gluten, so I just omitted that ingredient. Thanks for the recipe.
LikeLike